Upgrading to a new smartphone should be seamless, but when dealing with sensitive financial information like Google Wallet, some crucial steps must be followed manually. While loyalty cards and passes often transfer automatically, payment cards (credit/debit) require re-verification due to security tokenization.
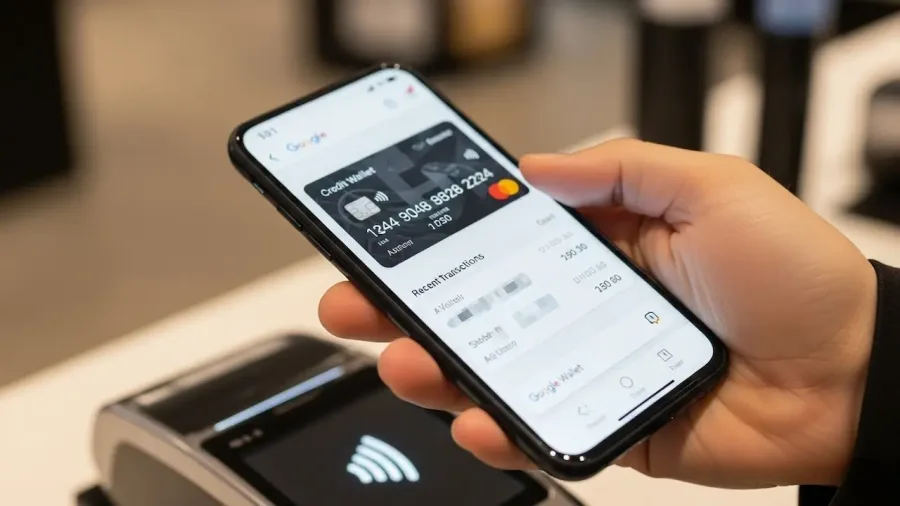
How to transfer Google Wallet to a new phone without losing data? (image: Gowavesapp)
This comprehensive guide will show you how to transfer Google Wallet to a new phone, focusing on the steps needed to ensure your payment methods are active and secure on your new device.
Phase 1: preparation and initial transfer (the foundation)
This phase ensures all your account information and static data (like loyalty cards) move safely.
1. Full backup of your current phone’s data
Before powering down your old device, confirm a complete backup is linked to your Google Account. This secures app settings, history, and static Wallet data (non-payment items).
Action: Go to Settings > Google > Backup (or System > Backup on newer Android versions).
Verification: Ensure “Back up to Google One” (or Google Drive) is active and manually initiate a backup immediately before the switch.
Result: This saves your passes, loyalty cards, and gift cards, which are typically tied directly to your Google Account and will sync automatically.
2. Initial setup and Google Account sign-in
The Google Account is the bridge that carries your entire digital life, including the Wallet data, to the new device.
Process: Power on the new phone and connect to the same Wi-Fi network used for the backup.
Restore: When prompted during setup, choose to “Restore from a cloud backup” (or another device) and select the recent backup associated with your old phone.
Sign-In: Sign in with the exact same Google Account credentials (email and password).
3. Install and set up Google Wallet
Although payment data is linked to your account, the app itself needs to be installed and initialized on the new hardware.
Install: Navigate to the Google Play Store and download the Google Wallet app.
Initialization: Open the app. The system will prompt you to grant necessary permissions (like NFC access for contactless payments) and confirm your identity.
Phase 2: the critical security step (payment re-verification)
This is the most crucial part, often missed. Payment cards do not automatically transfer their activation status due to security protocols. They must be re-tokenized for the new hardware.
4. Re-verify and tokenize payment cards
Upon opening Google Wallet on the new device, you will notice your credit and debit cards listed, but they will likely be marked as inactive or require setup.
Action:
In the Google Wallet app, tap on the inactive credit or debit card you wish to reactivate.
The app will display a notification saying the card needs to be “Set up for contactless” or “Re-verified.”
Follow the on-screen instructions, which typically involve selecting a verification method (e.g., text message code, email code, or bank app verification).
Enter the security code provided by your bank.
Why This is Necessary: The original security token (used for NFC payments) was tied to the cryptographic keys of your old phone. This re-verification process issues a new, unique token specific to your new device, ensuring maximum payment security.
5. Manually re-add missing cards or passes
While the main cards usually appear inactive, some older or third-party passes may not migrate automatically.
Loyalty Cards & Passes: For digital passes (like transit cards or loyalty programs) that did not sync, tap the “+” button (Add to Wallet). Select the appropriate category and follow the steps. In some cases, you may need to open the source app (e.g., airline or gym app) and select “Add to Google Wallet” from there.
Transit Cards: Some specific virtual transit cards or driver’s licenses (where supported) may offer a direct transfer method within the Wallet app, but you often need to manually select to “transfer” them from the old device to the new one.
Phase 3: security and final checks
The final phase ensures your new device meets the security standards required for contactless payments.
6. Check and update security settings
Contactless payments rely entirely on your device’s security measures. If your phone is not secured, Google Wallet will not function.
Screen Lock: Ensure a strong screen lock (PIN, pattern, or password) is active.
Biometrics: Activate and register your fingerprints or facial recognition for quick and secure payment authorization.
NFC Confirmation: Go to Settings > Connected devices > Connection preferences > NFC. Ensure NFC is toggled ON and that Google Wallet is set as the default payment app.
Two-Factor Authentication (2FA): Confirm 2FA is active on your Google Account to prevent unauthorized access.
7. Verify everything transferred correctly and wipe old device
The last two steps guarantee a flawless user experience and protect your data.
Verification: Open the Google Wallet app and confirm that all payment cards now display as “Ready for contactless payments.” Attempt a small tap-to-pay transaction (e.g., buying a coffee) to test functionality.
Old Phone Wipe: Once the transfer is 100% verified, you must perform a factory reset on the old device. This removes all security tokens and financial data, guaranteeing no one can use the device for unauthorized payments.
Action: Go to Settings > System > Reset options > Erase all data (factory reset).
By understanding that payment tokenization requires a mandatory re-verification step, you can confidently transfer your Google Wallet to a new phone without losing critical access to your payment methods.